Project IRIS
A procedure for in-line inspection of encapsulated MEMS silicon components
No possibility to date of optical quality inspection of encapsulated MEMS during manufacture
Micro-electro-mechanical systems (MEMS) are driving innovation in many use scenarios and they generate world-wide turnover in the tens of millions of euros. MEMS are a combination in a single component of micromechanical sensors and actuators with control electronics, all on an area of only a few square millimetres. In cars they appear as airbag sensors and ESC sensors and are the smart-making element of the smartphone, acting as they do to detect orientation and acceleration, provide microphones, filter high frequencies, sense pressure and focus the camera.
Micromechanical structures can be fabricated like silicon microelectronic chips but are as a rule already protected from a variety of outside influences by encapsulation at the wafer level. However, the MEMS structures enclosed in this way could not up to now be optically inspected using conventional methods during production under the real conditions of encapsulation. The encapsulation procedure undertaken in vacuum or an inert gas ambience can, however, cause stress in the material with errors as a consequence. A MEMS manufacturer offering early recognition of any deviations at wafer level during manufacture, followed by clarification and rapid correction, would have a vital competitive advantage. It must be remembered that up to 95% of the fabrication costs arise after the wafer is divided into single microsystems and is then built up and bonded to achieve the packaged sales-ready system.
New measurement technology from partners inspects MEMS through the capsule
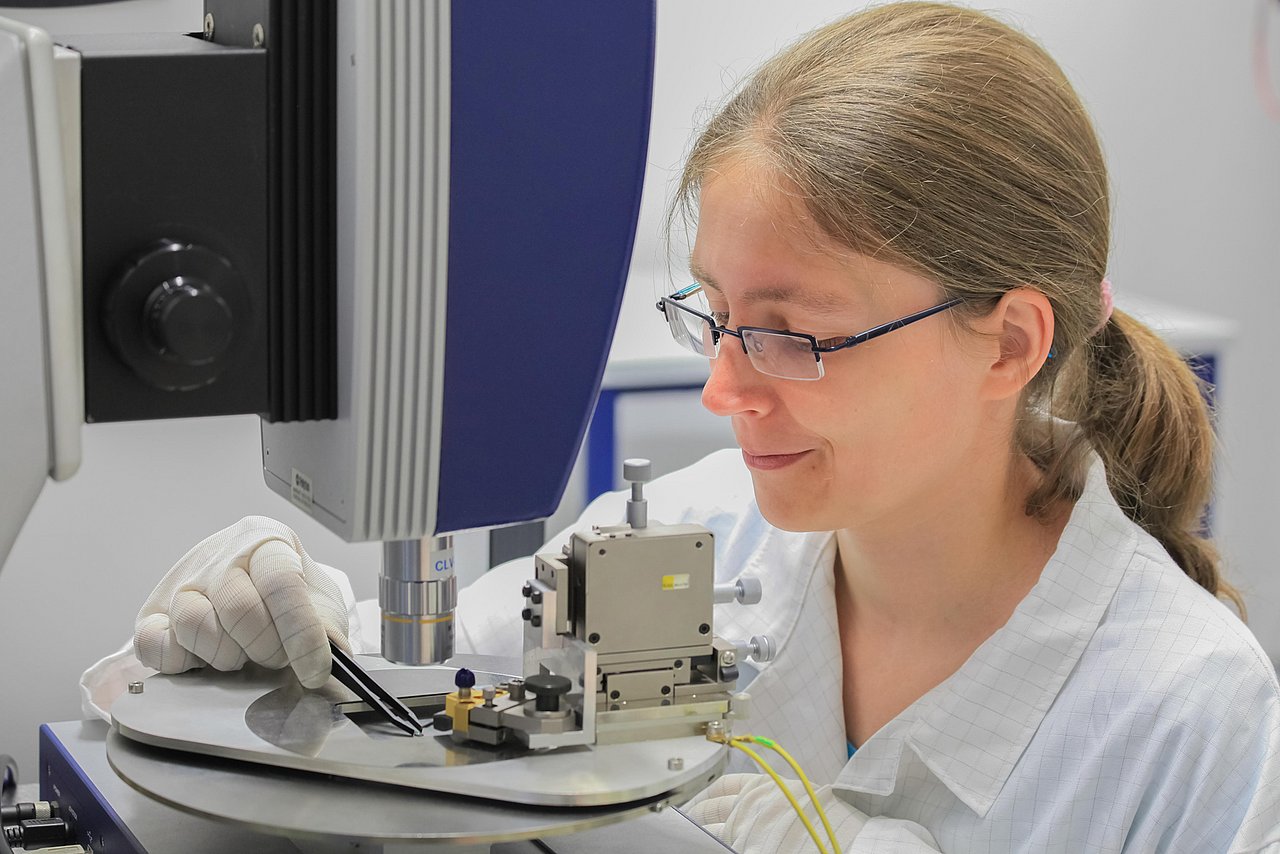
This situation has led to the IRIS project, in which a consortium of MEMS and metrology manufacturers together with research institutes have produced an optical means of analysing encapsulated silicon MEMS during fabrication using an innovative infrared technique. Thanks to the measuring techniques developed by one of the partners, Polytec GmbH, MEMS structures within their capsules can now be checked after an error-prone stage in the process. In the infrared wavelength between 1100 and 1700 nm, silicon is transparent, facilitating optical inspection if the measurements are taken in this range. Polytec has also achieved a first in enabling use of a laser Doppler vibrometer to measure oscillations in encapsulated microsystems stimulated optically by laser pulses.
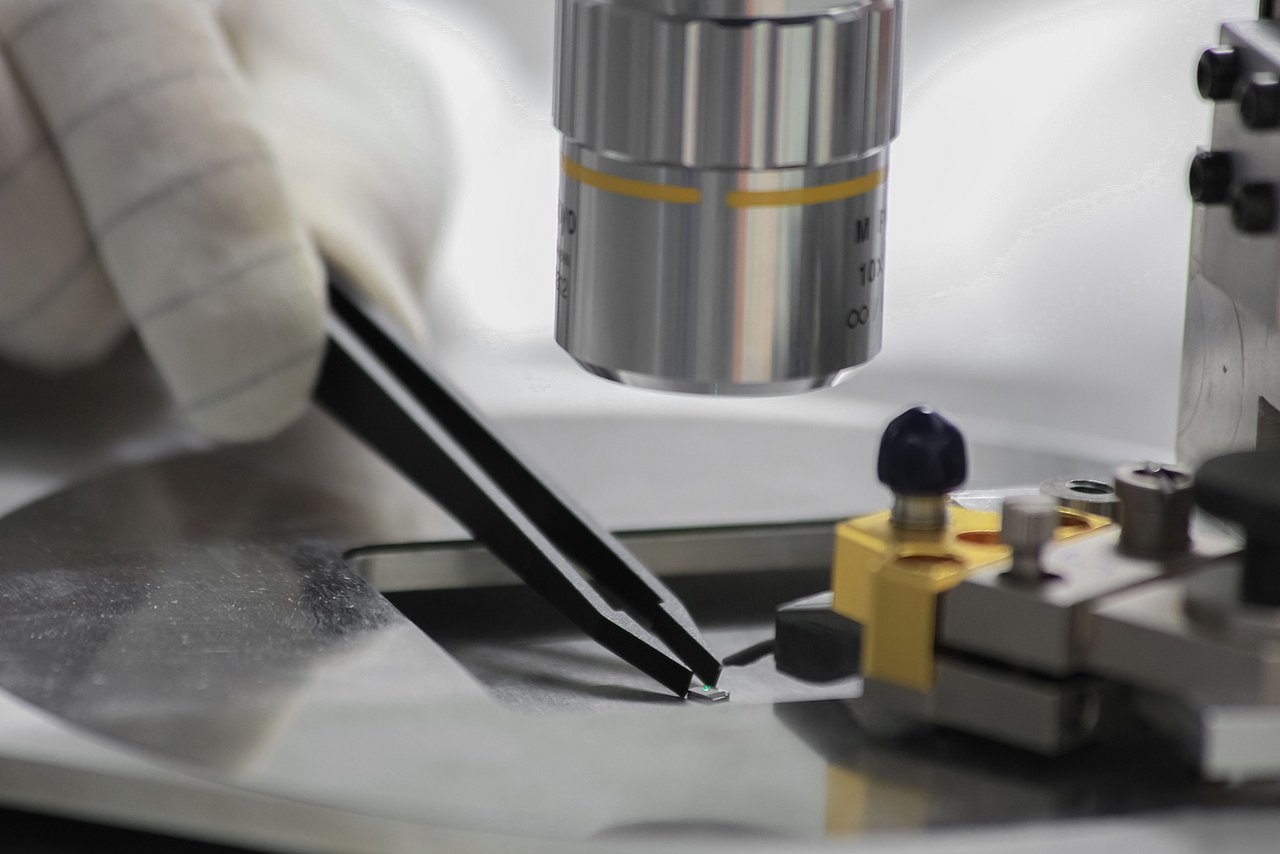
Vibrometers have been in use for many years in the quality testing of MEMS, but only so far for exposed structures. A laser focussed on the surface to be measured enables the vibrometers to determine frequencies and amplitudes of mechanical oscillations. Inspection of the material properties and behaviour and thus the quality of MEMS structures is done by making them vibrate and analysing with the aid of the Doppler effect the frequencies in the laser beams emitted and reflected which are characteristic of each MEMS structure.
The new measuring technique now allows sensor properties in encapsulated MEMS to be detected in a very short time by vibrometry so that characterisation can take place.
IMMS developed measurement procedures at wafer level and means of determining cavity internal pressure
This new measurement technique has been used for experiments in stimulating vibration dynamically of encapsulated MEMS structures at wafer level, which is necessary if inspecting with vibrometry during the process. IMMS has come up with an indirect measurement method to determine the pressure inside the capsule (the cavity-internal pressure) and thus to provide fabricators with a significant key quality indicator and, besides, an automatic analysis of any stress in the material. Furthermore, IMMS has developed measuring procedures for in-line process monitoring and has implemented a post-processing tool to be used for the characterisation of sensors on wafer level or of sensors as separated dies.
Acronym / Name:
IRIS / Infrared measurement technology for in-line inspection of encapsulated silicon componentsDuration:2015 – 2019
Application:
Automation technology and Industry 4.0|Quality assessmentResearch field:Integrated sensor systems
Related content
Contact
Contact
Dr.-Ing. Ludwig Herzog
Head of Mechatronics
ludwig.herzog(at)imms.de+49 (0) 3677 874 93 60
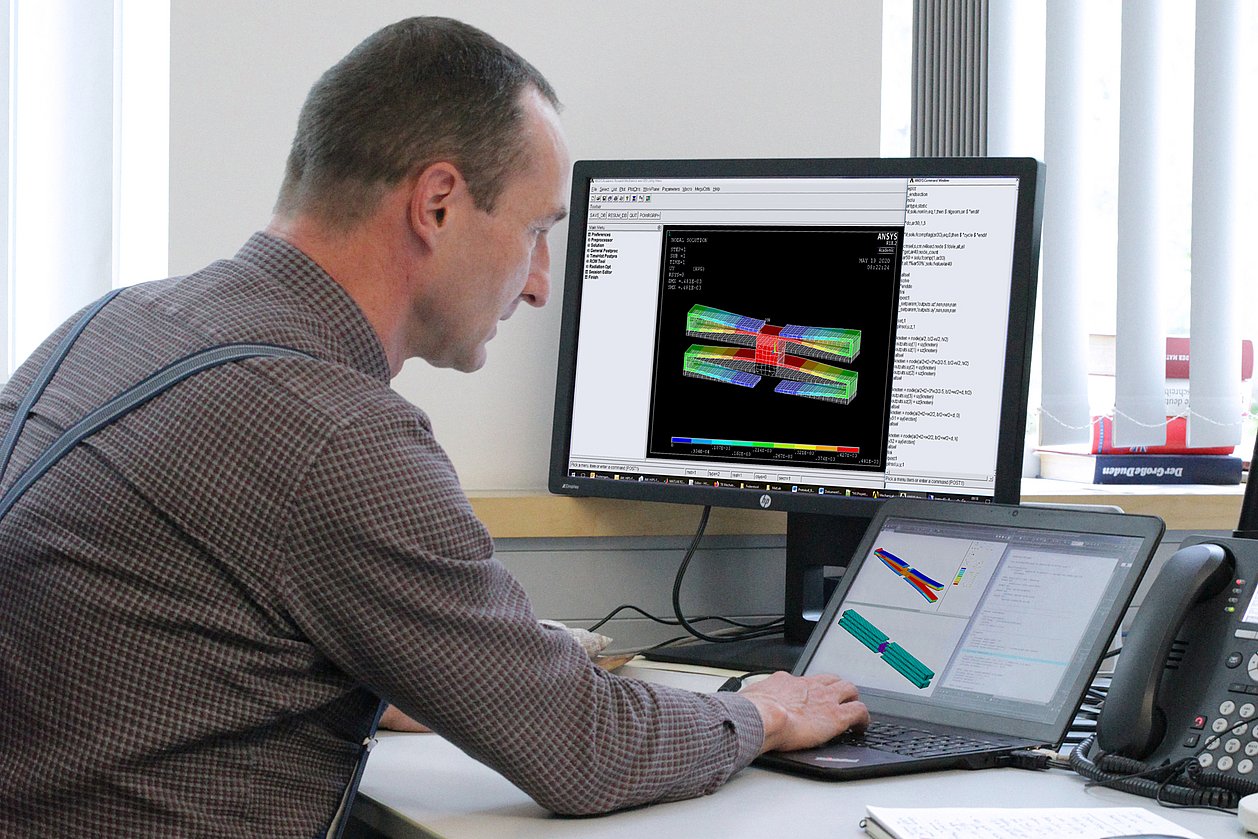
Dr. Ludwig Herzog will provide detail on our research on magnetic 6D direct drives with nm precision for the nm measurement and structuring of objects. He supports you with services for the development of mechatronic systems, for simulation, design and test of MEMS as well as for finite element modelling (FEM) and simulation.
Funding
The IRIS project was funded by the BMBF (German Ministry of Education and Research) under the reference 13N13565.


