Project PTB
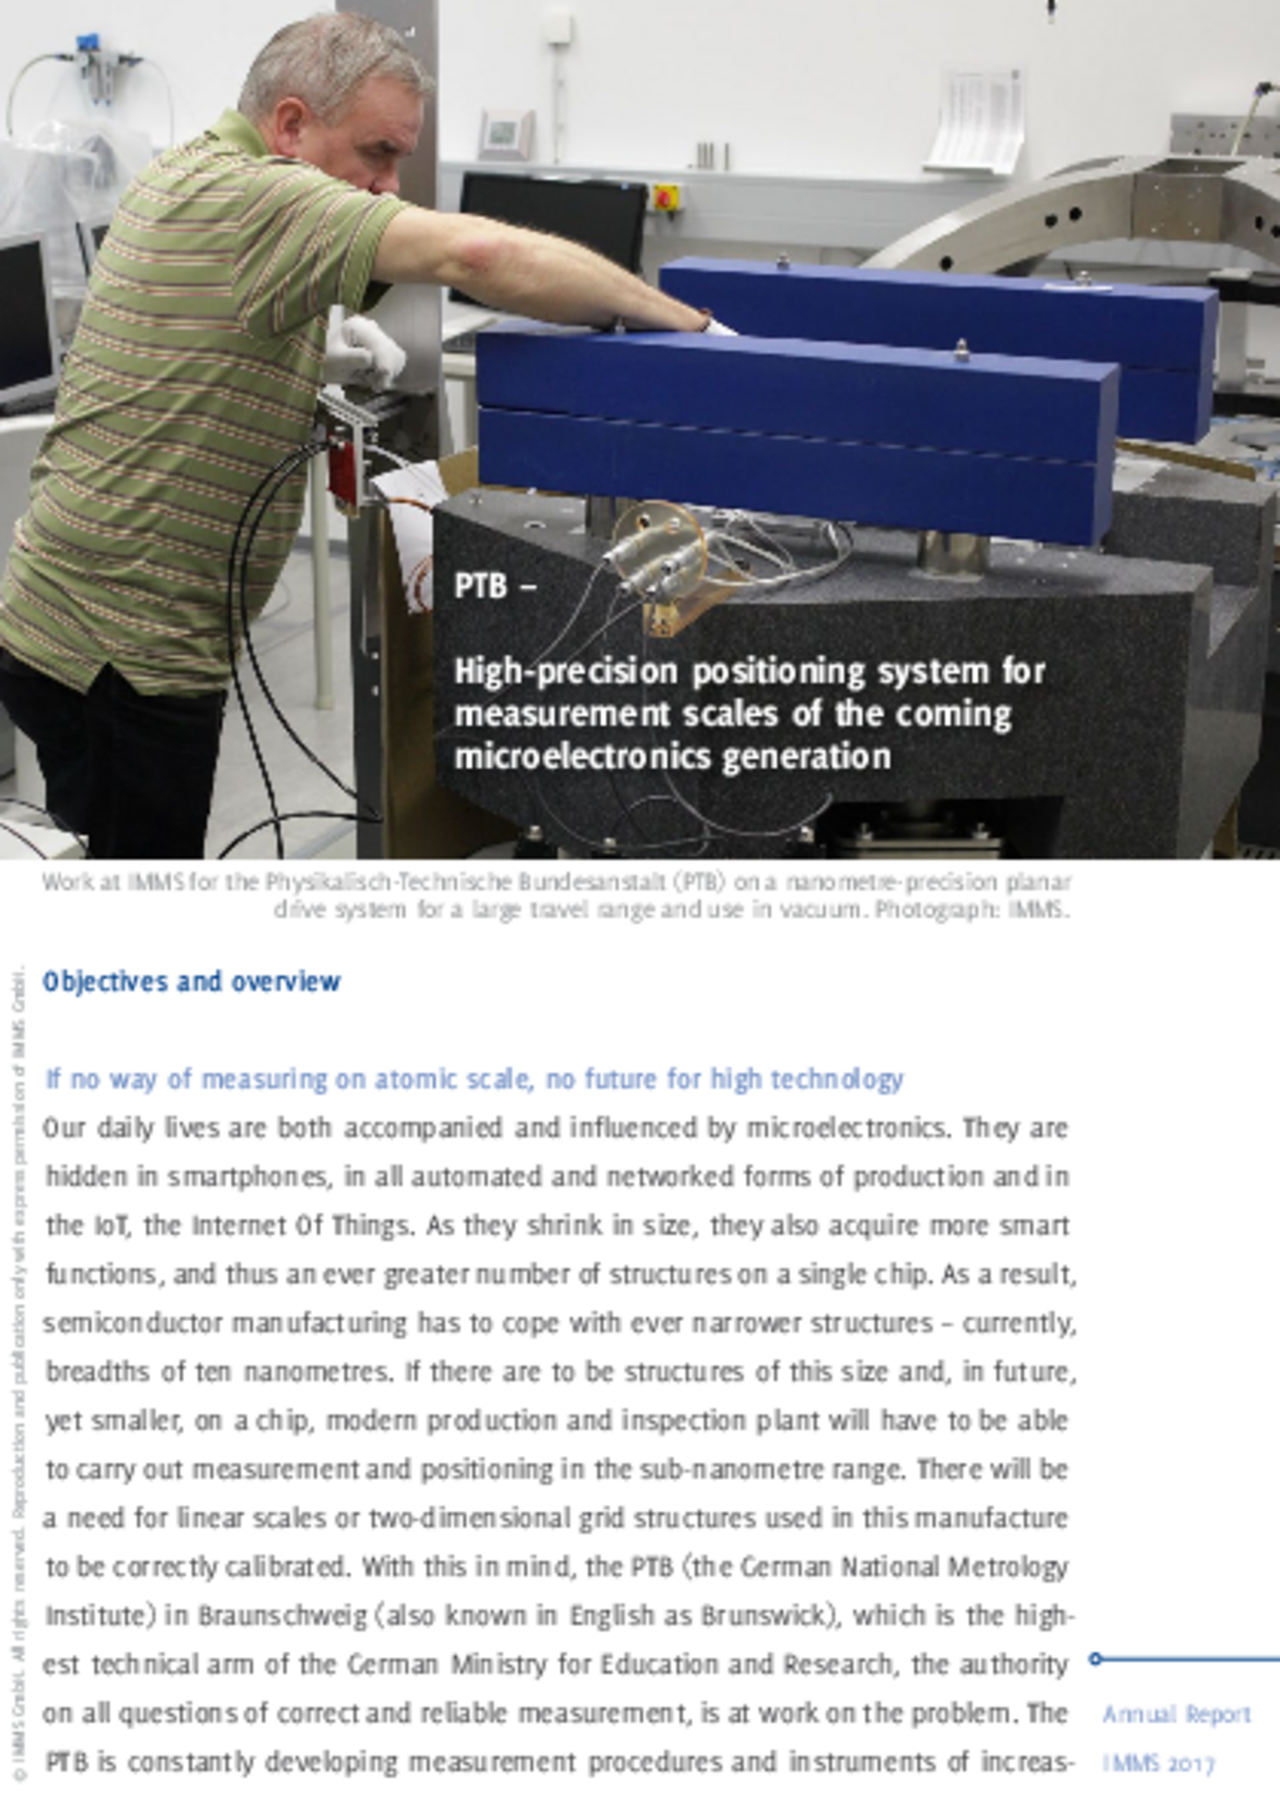
For the Physikalisch-Technische Bundesanstalt (PTB) IMMS developed a high-precision positioning system for measurement scales of the coming microelectronics generation.
If no way of measuring on atomic scale, no future for high technology
Our daily lives are both accompanied and influenced by microelectronics. They are hidden in smartphones, in all automated and networked forms of production and in the IoT, the Internet Of Things. As they shrink in size, they also acquire more smart functions, and thus an ever greater number of structures on a single chip. As a result, semiconductor manufacturing has to cope with ever narrower structures – currently, breadths of ten nanometres. If there are to be structures of this size and, in future, yet smaller, on a chip, modern production and inspection plant will have to be able to carry out measurement and positioning in the sub-nanometre range. There will be a need for linear scales or two-dimensional grid structures used in this manufacture to be correctly calibrated. With this in mind, the PTB (the German National Metrology Institute) in Braunschweig (also known in English as Brunswick), which is the highest technical arm of the German Ministry for Education and Research, the authority on all questions of correct and reliable measurement, is at work on the problem. The PTB is constantly developing measurement procedures and instruments of increasing accuracy so that they can be used as the reference systems for measurement calibration standards in the above applications and countless others.
Laser interferometers measuring long distances in vacuum require high-precision drives
Of crucial importance is the role played by accurate measurement of distance with laser interferometers, as they are a means of achieving measurement uncertainty down to the nanometre for even relatively long stretches exceeding 100 mm. As a result, one of the PTB’s major research aims is to investigate and optimise laser interferometer properties, particularly focussing on sources of error. In atmospheric conditions, the changes in the refractive index of air due to temperature, pressure and humidity changes are the biggest error factor, masking many others. Investigations are, therefore, increasingly carried out in vacuum.
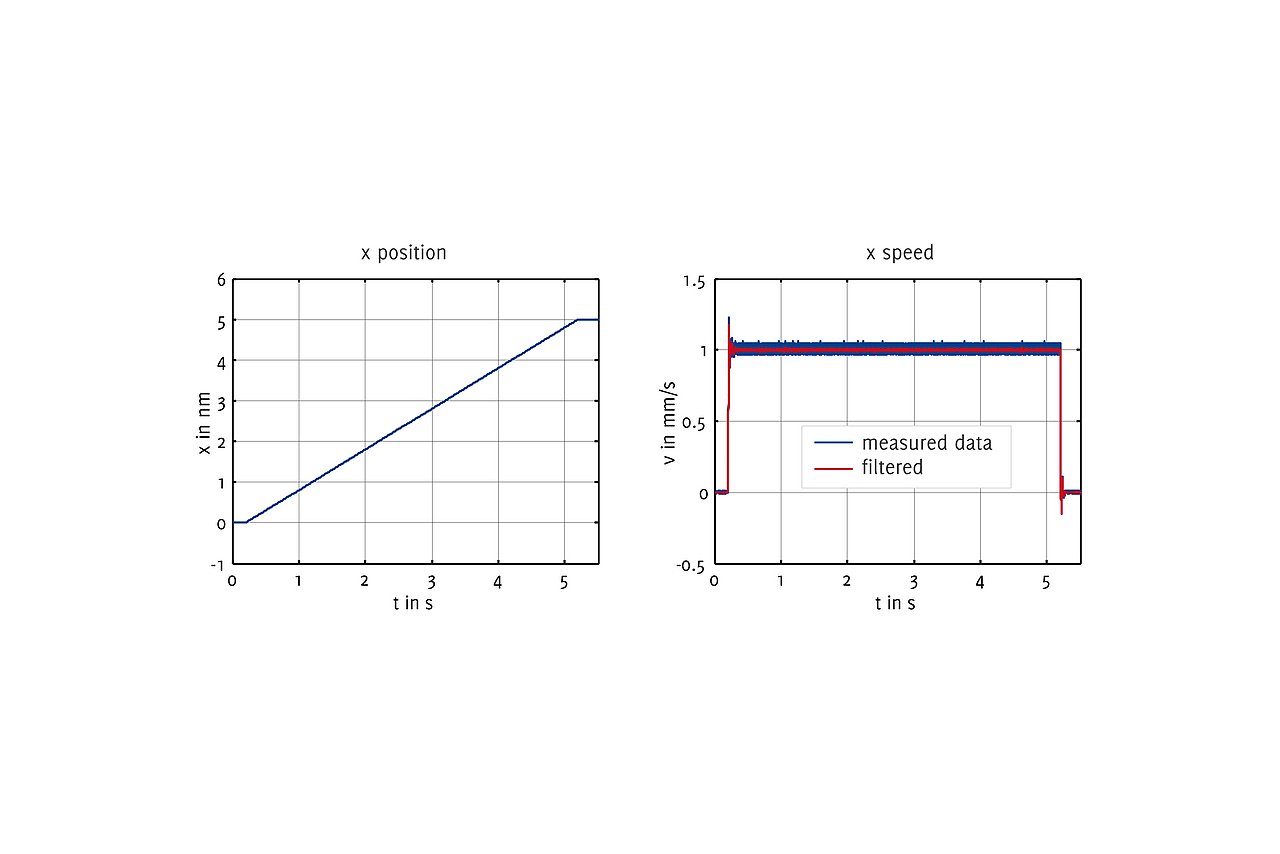
For this demanding research, the PTB needed a planar stage with a large processing area capable of use in a vacuum as a system to help bring into position the individual components of the interferometer being examined with nanometre accuracy, so that predefined, precise and reproducible measurement conditions could be ensured. The stage would have to move with total regularity and absence of vibration through an area 150 mm x 2 mm, while having minimum influence on the measuring space. What is more, particular importance is laid on an absolute fit with the complex measuring equipment found inside the vacuum chamber, where there will also be a 3D positioning unit to raise the z position and the pitch axis very slightly.
IMMS planar drive system works in vacuum
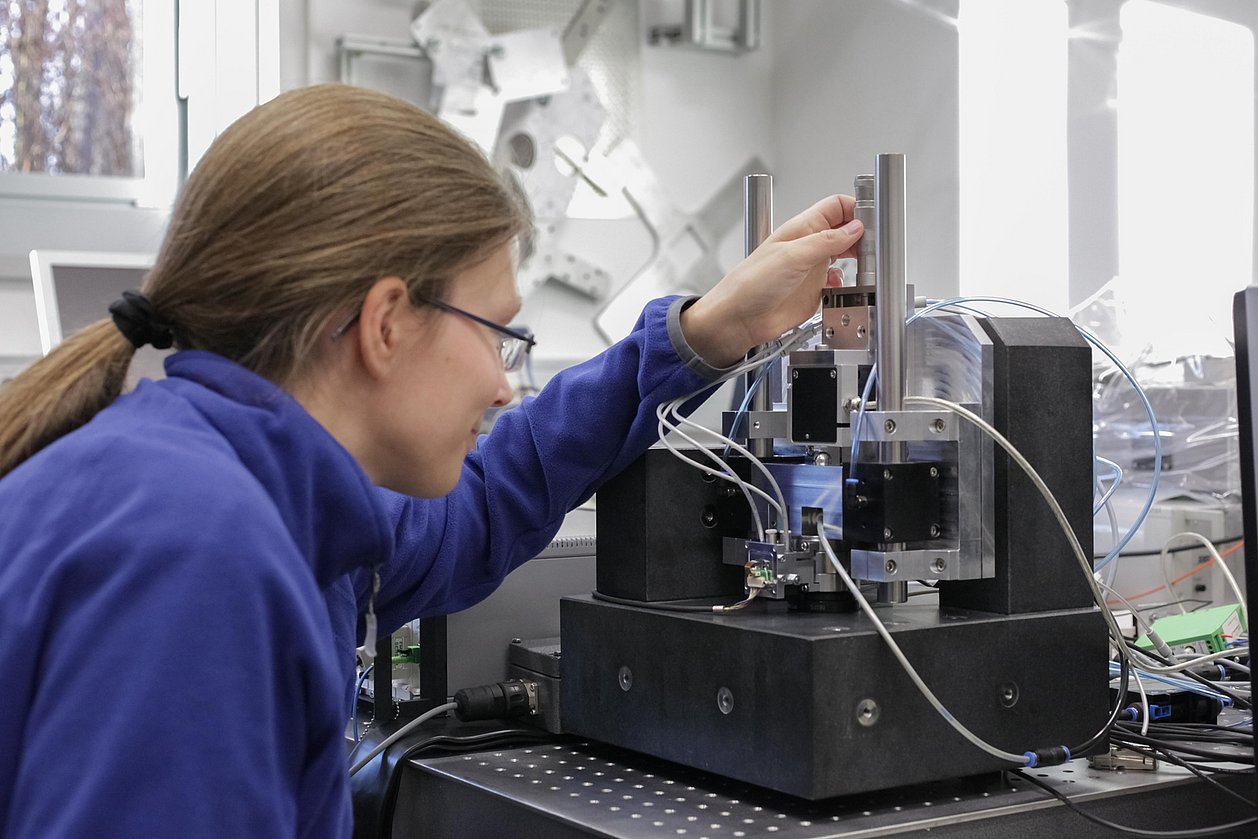
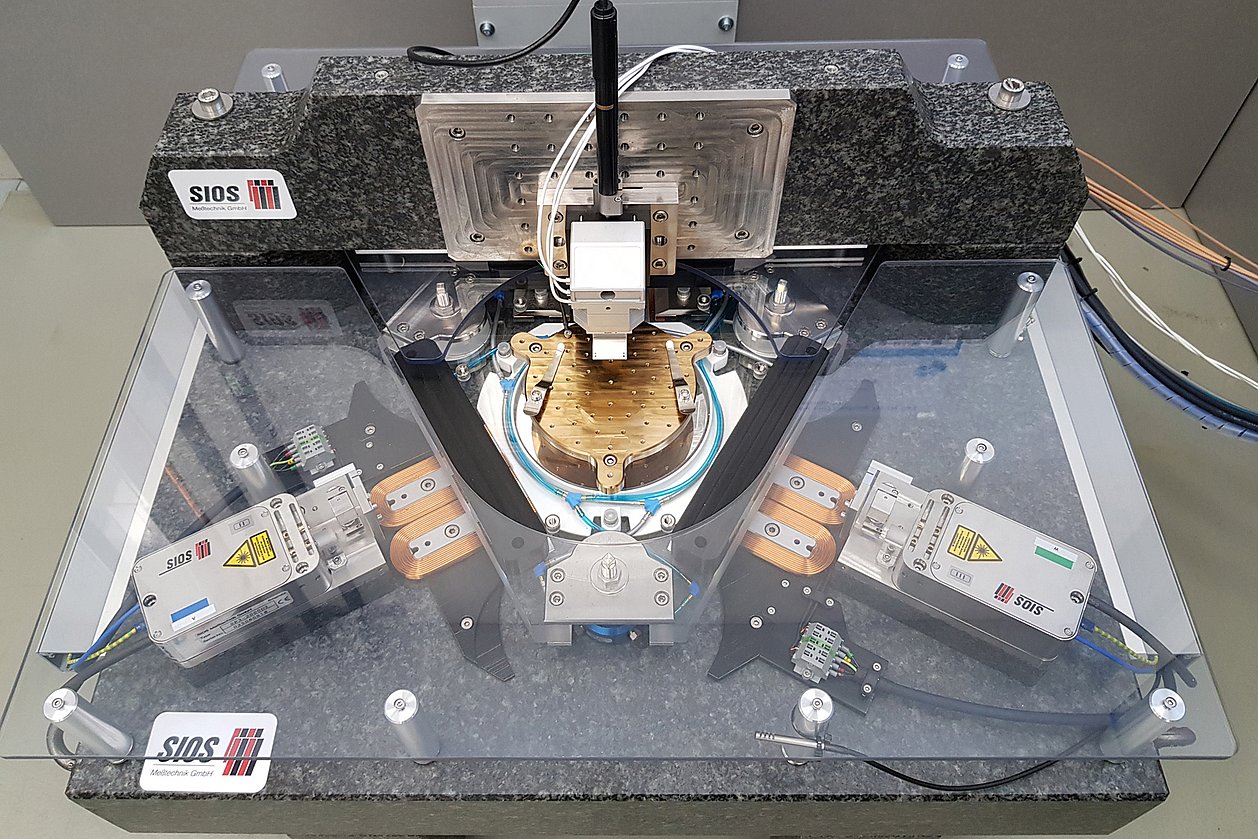
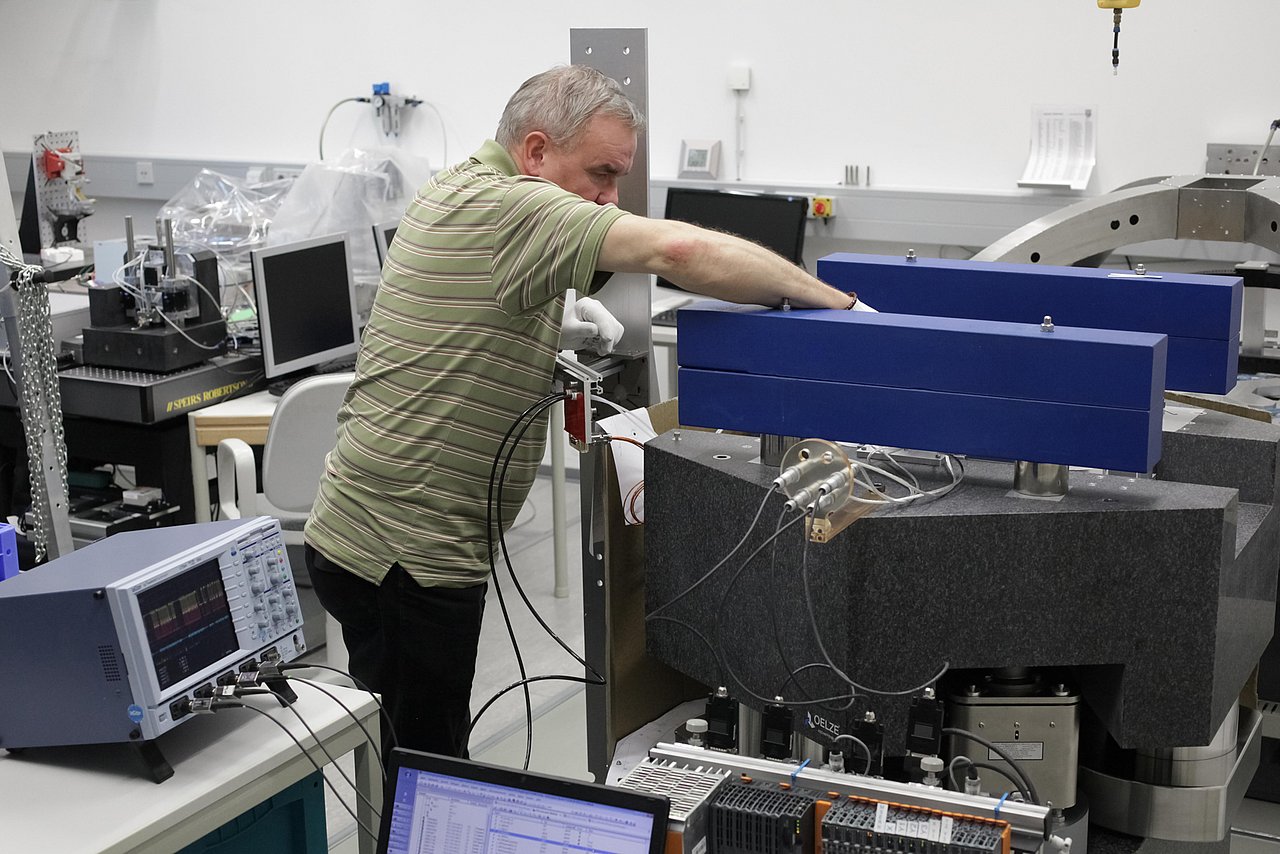
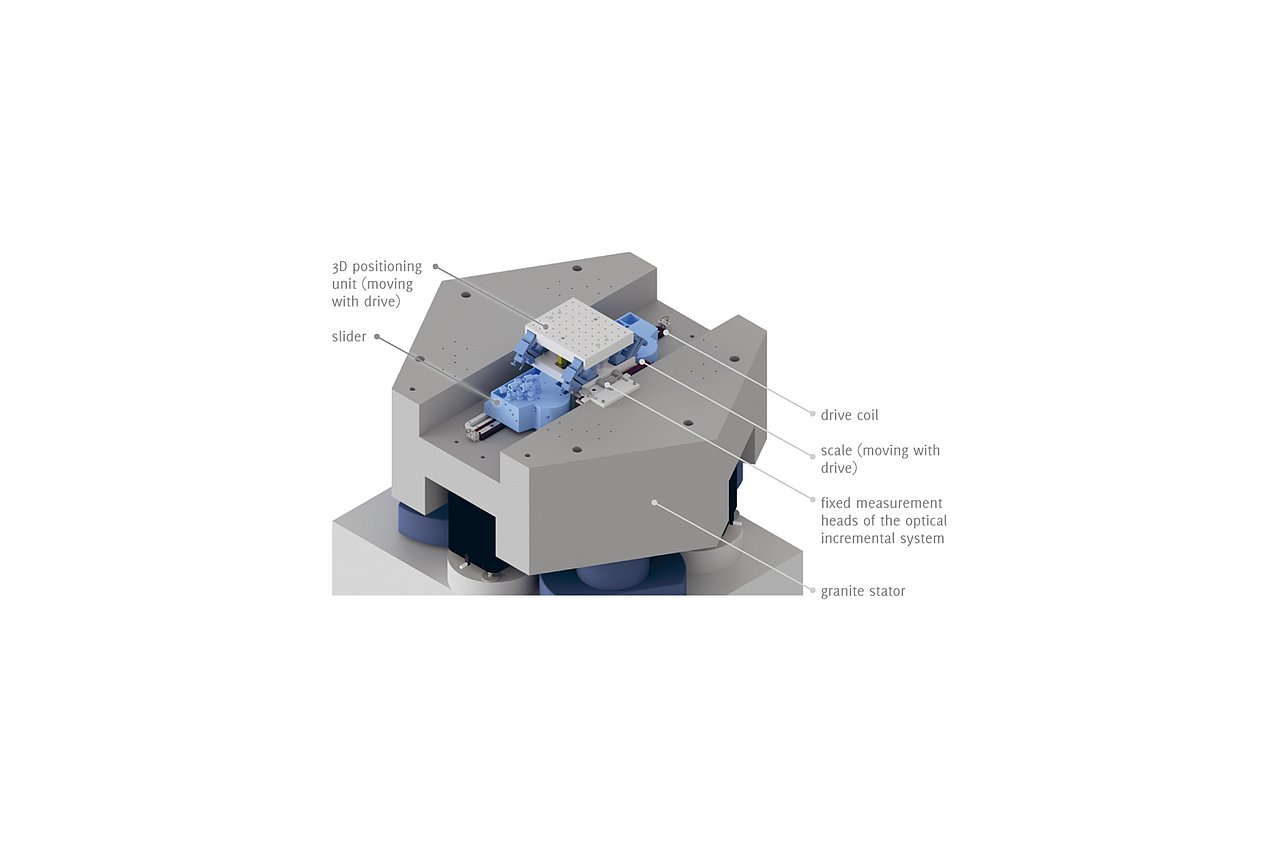
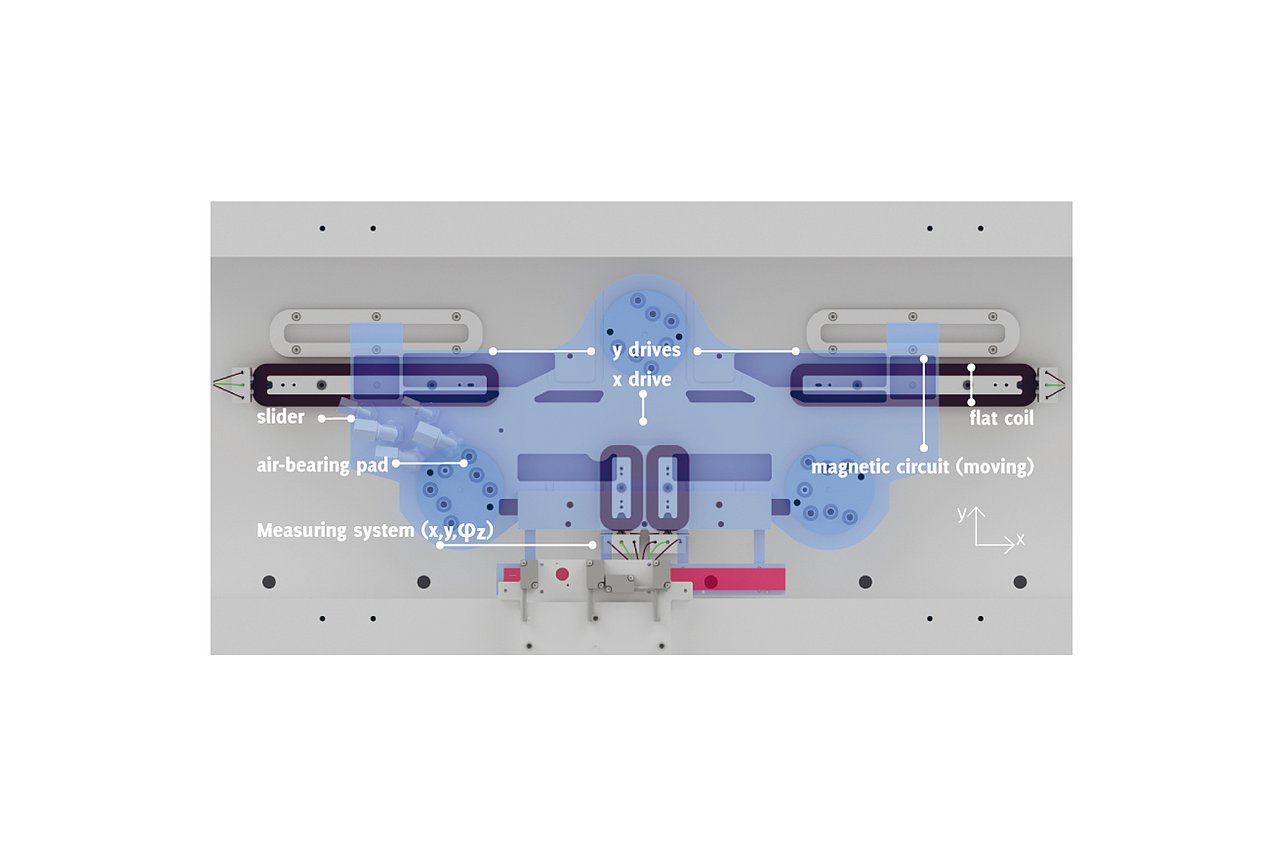
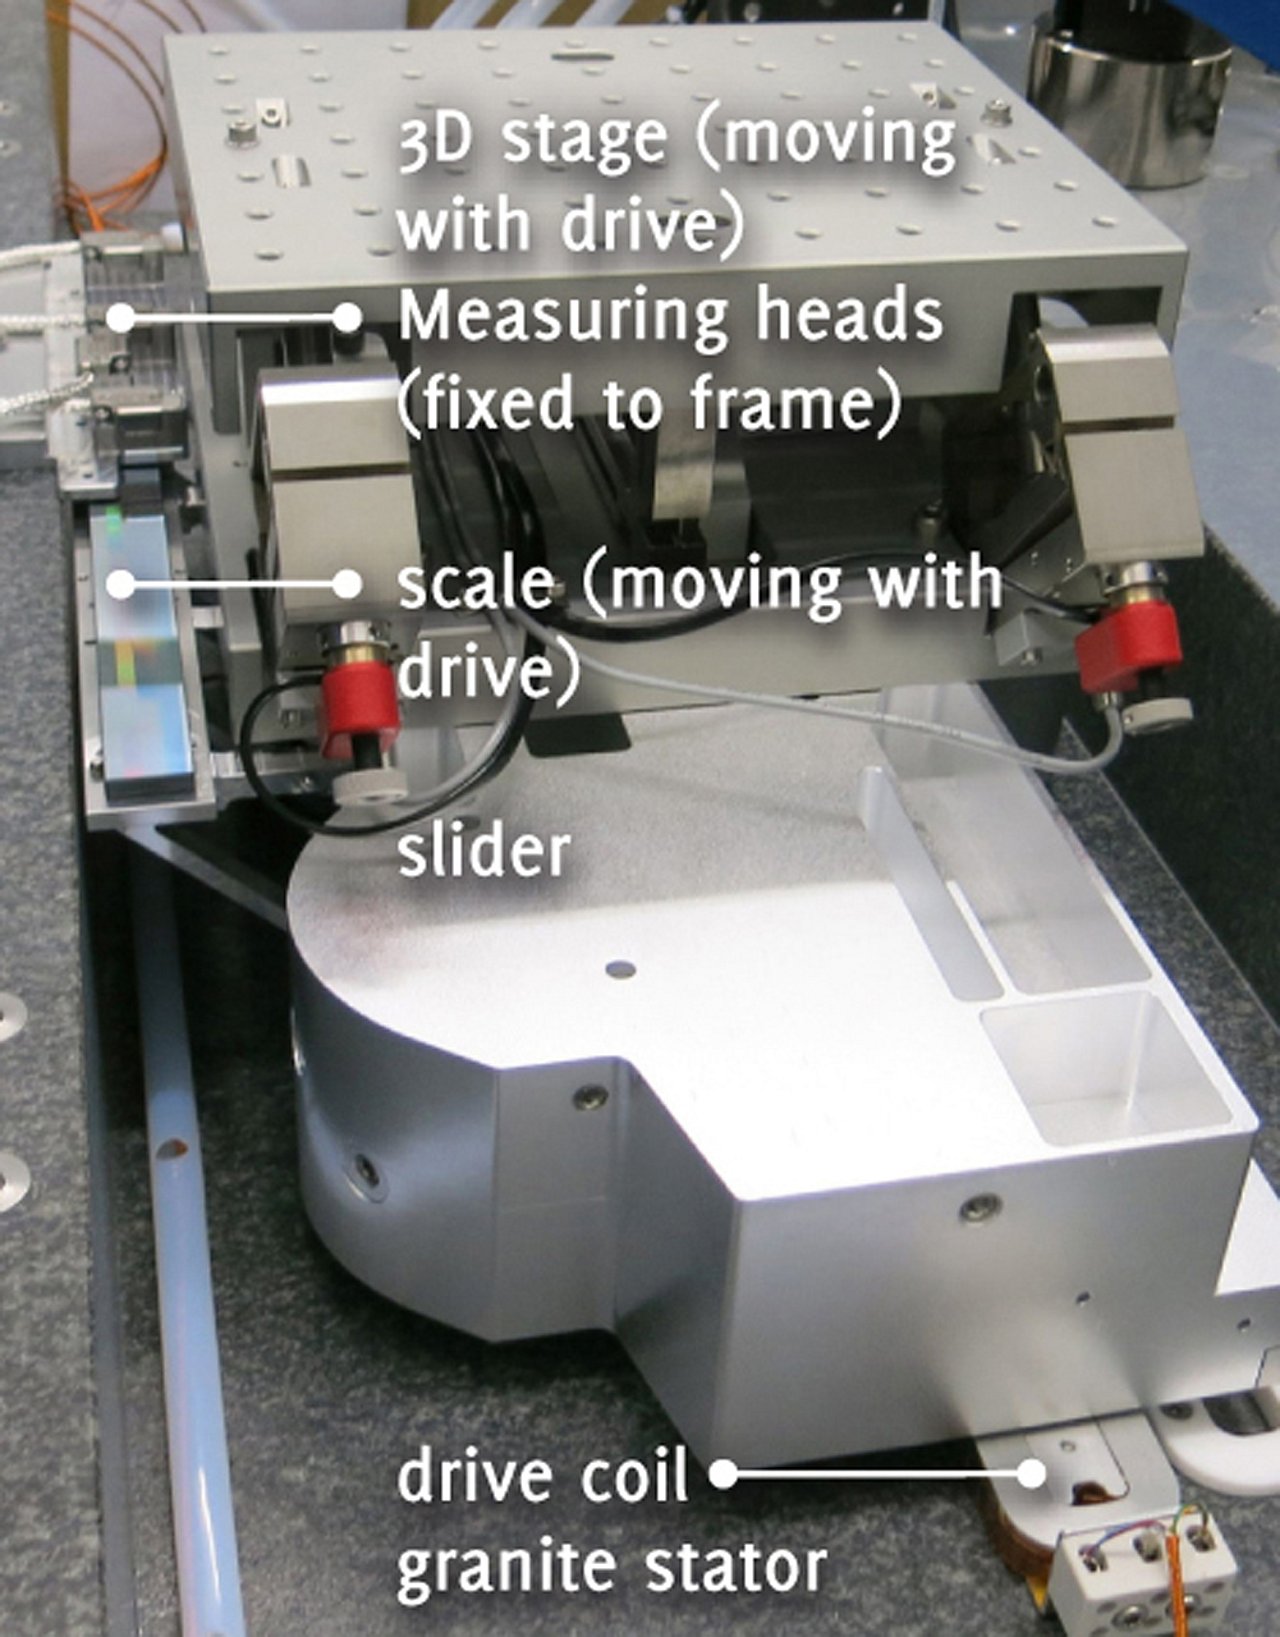
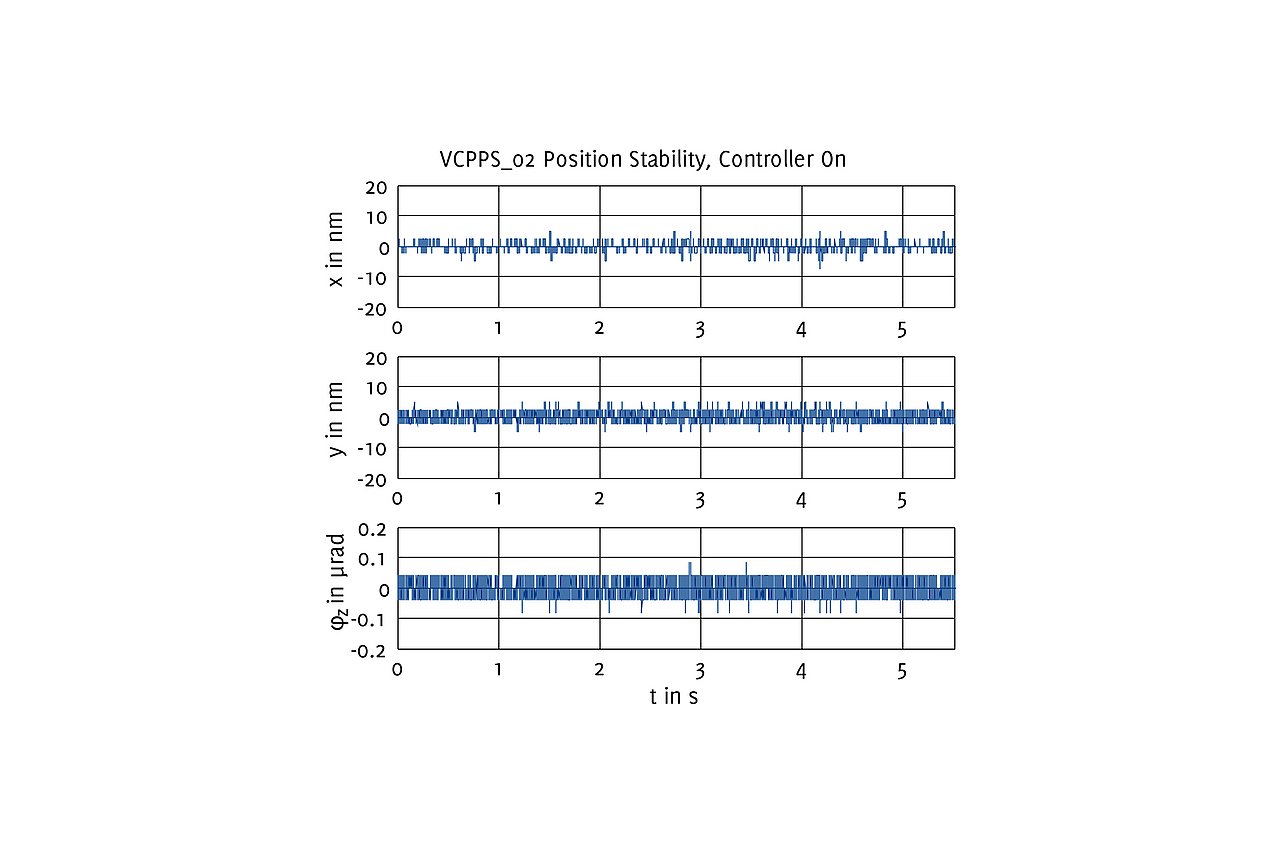
To meet these needs, IMMS has developed an air-guided planar drive with an optical incremental measuring system. This motor uses closed-loop control for the slider’s position in the x,y (Cartesian) plane and for the rotation around the vertical axis (φz). The remaining degrees of freedom for the slider, i.e. the vertical (z) movements and inclination around the horizontal axes (φx, φy) are defined by a planar aerostatic slider guide with three flat air-bearing pads. The 3D stage is carried by the planar stage and offers the possibility of positioning the object to be measured by raising it across a small range within these degrees of freedom. IMMS worked not only on developing and creating the stage as hardware but also on the control algorithms, which it then integrated into an operational control system with its own 3D closed-loop control. The control software was implemented in hardware capable of real-time open-loop control which is in communication with the upstream controls of the overall experiment as client, so that the planar drive system was integrated into the full experimental setup as an independent sub-system. The new drive system has as its core function the precise positioning of the object to be measured but also enables the slider to be locked down temporarily with ensuing deactivation of all the systems: for that period, outside influences on the measurement environment are further reduced.
The drive has been in use at the PTB since mid-2017 for the investigations described.
.
Acronym / Name:
PTB /Duration:2016 – 2017
Application:
Research institutions and ultra-precision mechanical engineeringResearch field:Magnetic 6D-direct drives with nanometre precision
Related content
Contact
Contact
Dr.-Ing. Ludwig Herzog
Head of Mechatronics
ludwig.herzog(at)imms.de+49 (0) 3677 874 93 60
Dr. Ludwig Herzog will provide detail on our research on magnetic 6D direct drives with nm precision for the nm measurement and structuring of objects. He supports you with services for the development of mechatronic systems, for simulation, design and test of MEMS as well as for finite element modelling (FEM) and simulation.



![[Translate to English:] [Translate to English:]](/fileadmin/_processed_/9/0/csm_20200731_IMG_2732_K4PNP-INPOS_SG_1920x1280_7c70c69f8a.jpg)
