Press releases
High-precision drives released from vacuum
PTB and IMMS receive iENA bronze medal for new seal configuration for more precise displacement measurement in high-tech applications
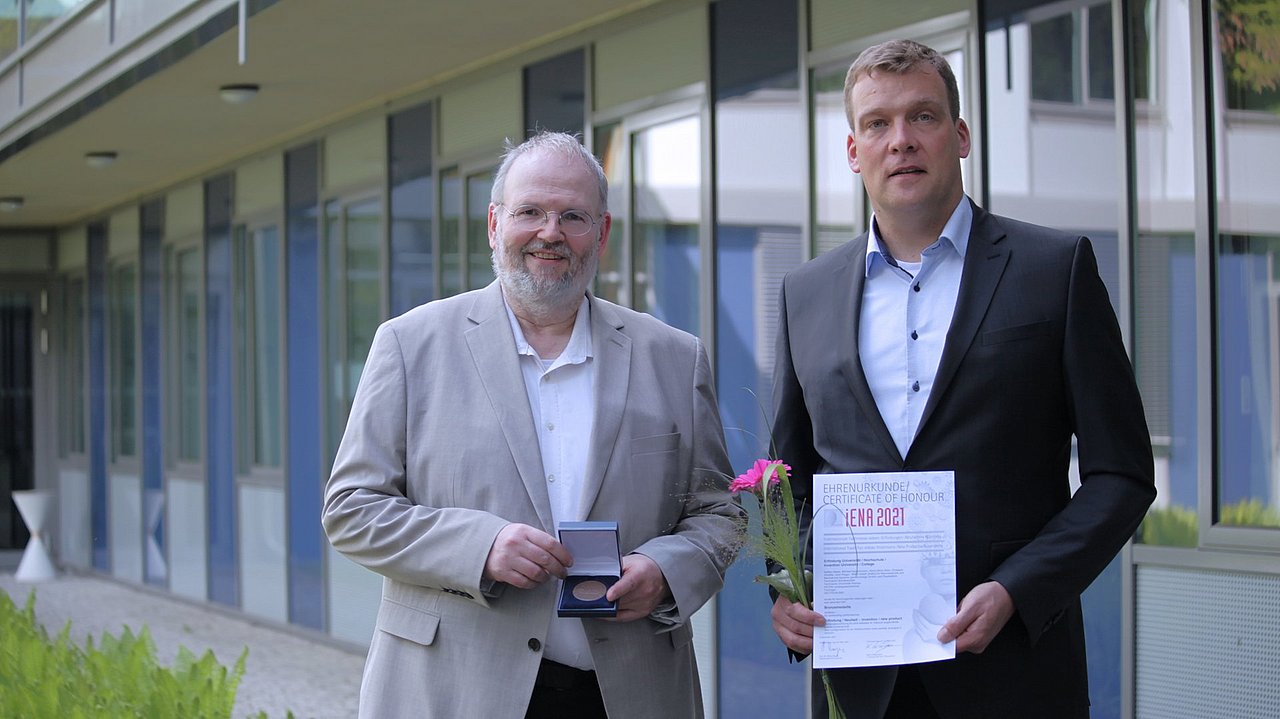
Ilmenau, Germany, 18 May 2022. On 17 May, Physikalisch-Technische Bundesanstalt (PTB, Germany’s national metrology institute) and IMMS Institut für Mikroelektronik- und Mechatronik-Systeme gemeinnützige GmbH (IMMS GmbH) were honoured with a bronze medal for their development “Seal configuration for an interferometer route partially arranged in vacuum” in the competition of the inventors’ fair iENA at the Thuringian awards event of PATON – Patent Center Thüringen at Technische Universität Ilmenau. More than 350 inventions from 17 countries have already been presented at iENA from 4 to 7 November 2021. Due to the pandemic, PATON, which had presented the work at iENA and entered it into the competition, created the festive setting for the inventors to receive their personal awards and present their contributions in May of this year. Dr. Jens Flügge, head of the department “Dimensional Nanometrology” at PTB, and Steffen Hesse, specialist for precision drive systems at IMMS, presented their solution on behalf of the team of inventors. This solution will help to make it easier to manufacture high-tech products with nanometre precision in the future, for example in semiconductor production. In contrast to other approaches, the invention allows the actual production process to be kept out of the vacuum while at the same time providing higher measurement accuracy.
Demand for precision machines is growing
The progressive miniaturisation of technical products is leading to a growing demand in many industrial sectors for precision machines with which the smallest structures and objects can be measured and processed with high precision. Many such objects have spatial dimensions in the millimetre to centimetre range, while surface features and functional elements are only a few micro- or nanometres in size. One example of this is exposure masks, which are used in semiconductor manufacturing to create structures for microelectronics chips with nanometre precision.
Interferometers enable high-precision measurements, but should operate in vacuum
Interferometers are used for precision measurements on these objects, especially for length measurements in the nanometre range. For the measurement, interferences are detected that occur when light waves are superimposed.
With high-precision requirements, even minimal changes in the refractive index in air due to temperature, pressure and humidity have a negative effect. To avoid this dominant source of error, it is of advantage to arrange the interferometers in a vacuum.
However, many measurement objects and processes are only suitable for use in a vacuum to a limited extent. For this reason, interferometers have long been used whose beam path runs largely in a vacuum and are encapsulated by metal bellows for this purpose.
New sealing arrangement separates vacuum for interferometer from drive and enables more precise measurements
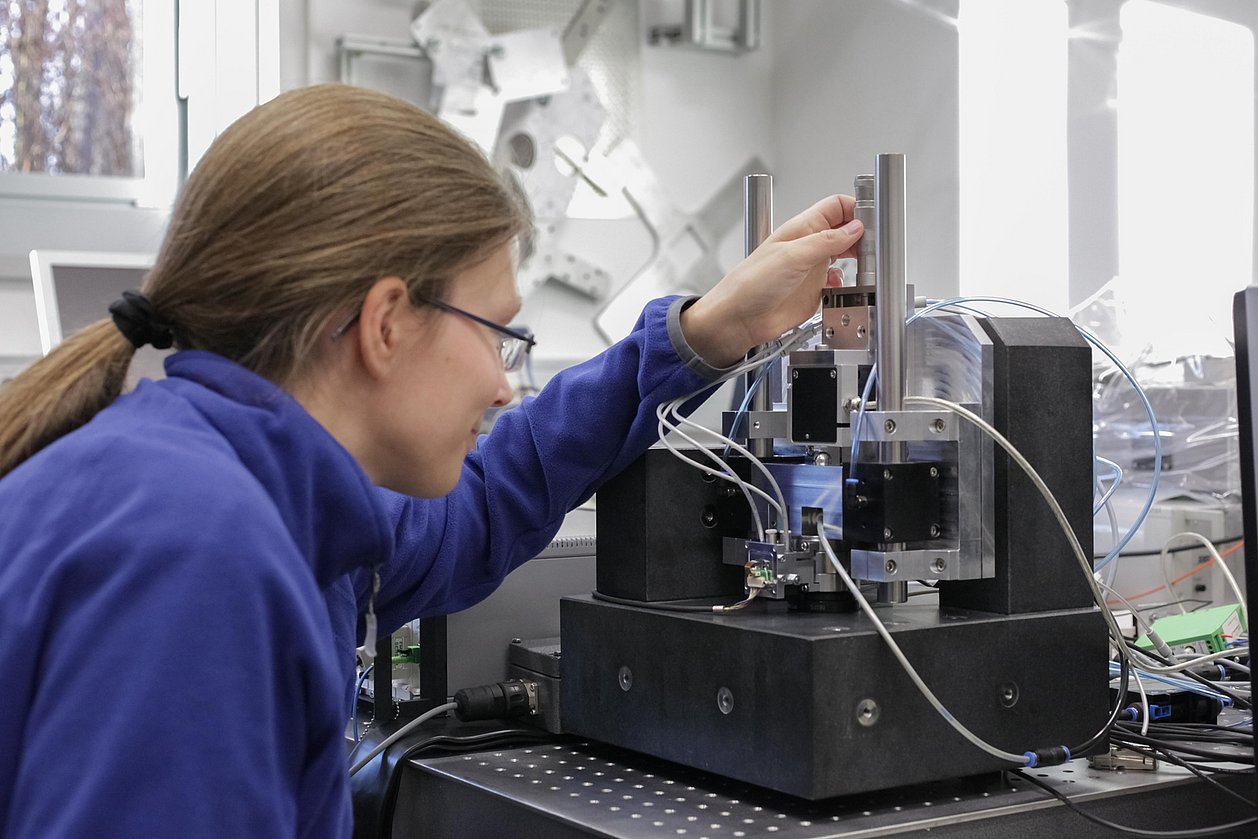
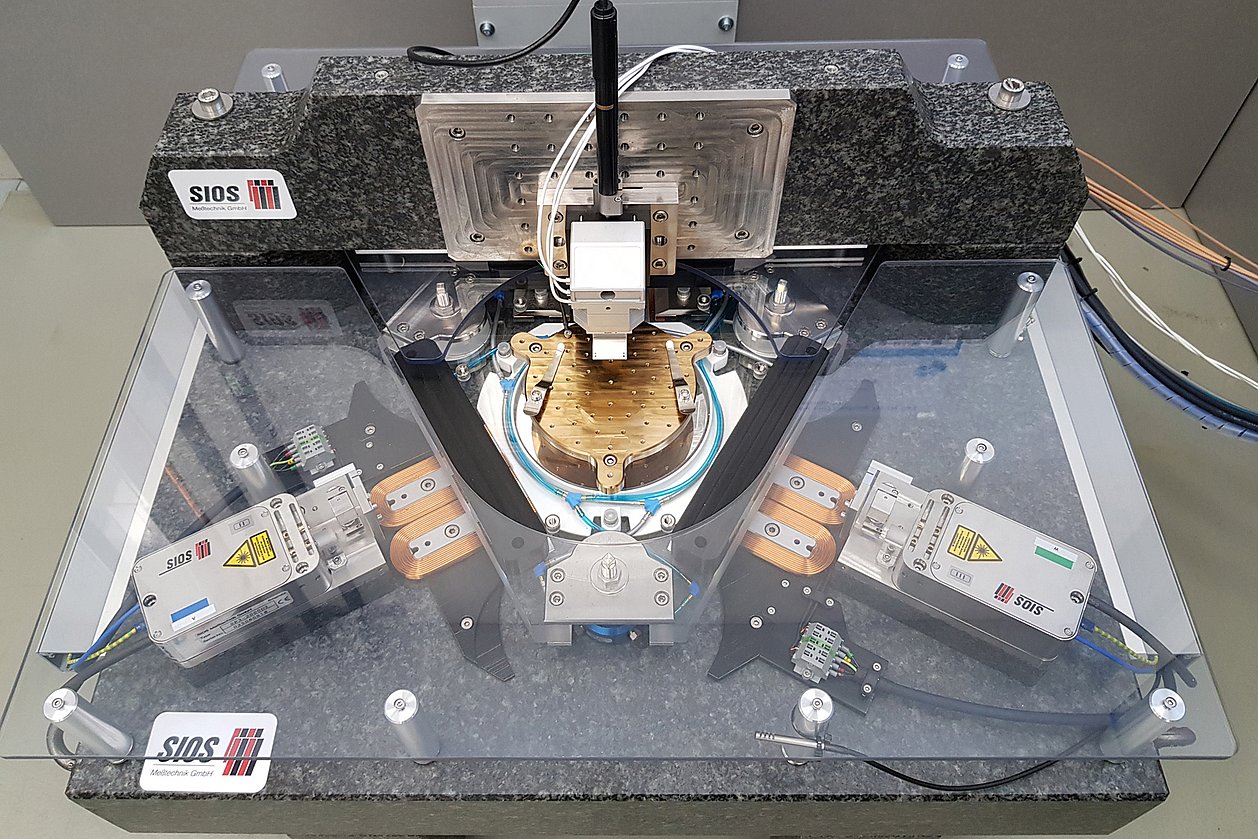
The alternative sealing arrangement developed by IMMS and PTB features an interferometer housing with an air-guided cover. ”By using suction channels and sealing gaps, we were able to seal the vacuum in the cover without contact”, explains Steffen Hesse from IMMS. As a result, the cover and housing can be moved frictionlessly in relation to each other – not only in the direction of measurement, but also transversely. “In this way, the cover, which encapsulates the measuring beam, can be tracked to the movement of the target very precisely, which is absolutely essential for highly accurate detection of the target position.”
Like the conventional bellows solution, the novel sealing arrangement thus reduces the measurement uncertainty of an interferometric measurement system without also having to operate the drive system with the object to be moved in a vacuum. Compared to known solutions, other interfering influences on the measurement result can also be significantly reduced. “The completely differentially designed interferometer optics also contribute to this”, says Dr Jens Flügge from PTB. “We have additionally shortened the dimensions of the coupling between the measurement object, sensor system and interferometer by means of the interferometer arrangement, which reduces the sensitivity to variations in the ambient conditions such as vibrations and temperature. By carefully accommodating the forces created by the vacuum, we avoid unwanted deformations of the optics and the metrology frame that could distort the measurements.” The system can also be easily used in two-dimensional applications. A fully differential interferometer adapted to the design with sub-10 picometre noise and non-linearities was successfully commissioned.
German Patent: DE 10 2019 117 636 B3
Patent applicant/owner: IMMS Institut für Mikroelektronik- und Mechatronik-Systeme gemeinnützige GmbH (IMMS GmbH); Physikalisch-Technische Bundesanstalt (PTB)
Inventors: Steffen Hesse, Michael Katzschmann, Hans-Ulrich Mohr, Dr. Christoph Schäffel (IMMS); Dr. Jens Flügge (PTB)
This might also be interesting for you
Related content
Contact
Contact
Dipl.-Hdl. Dipl.-Des. Beate Hövelmans
Head of Corporate Communications
beate.hoevelmans(at)imms.de+49 (0) 3677 874 93 13
Beate Hövelmans is responsible for the text and image editorial work on this website, for the social media presence of IMMS on LinkedIn and YouTube, the annual reports, for press and media relations with regional and specialist media and other communication formats. She provides texts, photographs and video material for your reporting on IMMS, arranges contacts for interviews and is the contact person for events.


![[Translate to English:] [Translate to English:]](/fileadmin/_processed_/9/0/csm_20200731_IMG_2732_K4PNP-INPOS_SG_1920x1280_7c70c69f8a.jpg)
